
How to Build the Perfect Tattoo Artist Portfolio: A Step-by-Step Guide
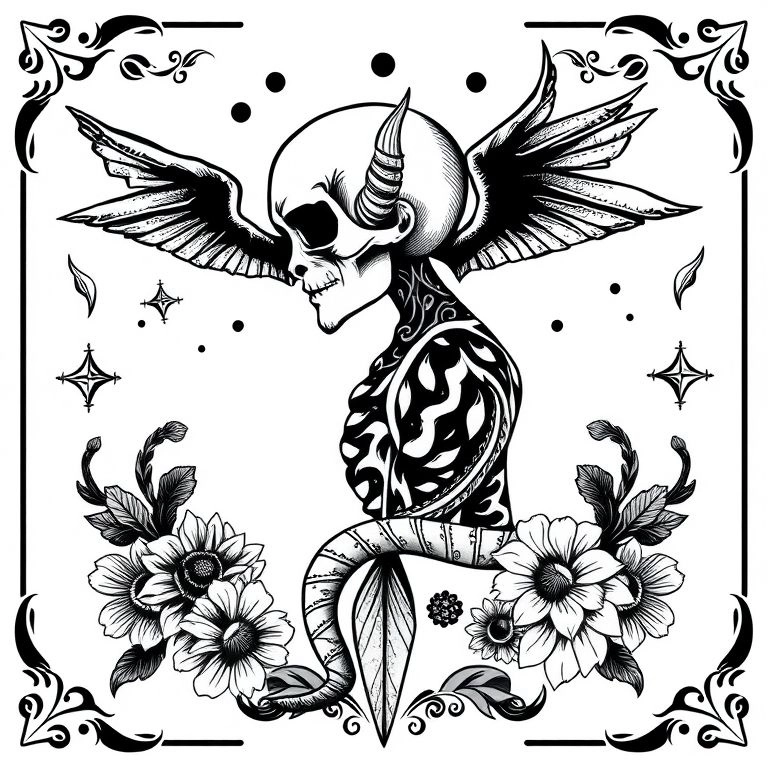
A tattoo artist’s portfolio is more than just a set of images; it’s your visual CV — your main tool for attracting clients and landing a job at your dream studio. The perfect portfolio should showcase your talent, professionalism, and unique style loud and clear.
Here’s a step-by-step guide to help you create a portfolio that leaves a lasting impression.
Step 1: Define Your Niche and Style
Before you start taking photos, you need to understand what you’re selling.
- Focus on your strengths: Identify 3–5 styles you’re truly good at or want to develop (for example, realism, traditional tattoo, graphic, blackwork).
- Eliminate the unnecessary: If you haven’t worked in a particular style for a long time or the work feels weak, ruthlessly remove it. Your portfolio should reflect your current and best level.
- Curate consciously: Ideally, your portfolio should include at least 20–30 of your best works showing variety in subjects, techniques (outline, shading, color), and placement (arm, leg, back, etc.) within your chosen style.
Step 2: Photo Quality Is Non-Negotiable
Even the most brilliant tattoo will look mediocre in a poor photo. Photos are 80% of your portfolio’s success.
💡 Rules for the Perfect Tattoo Photo:
- Lighting is key: Use neutral daylight or professional studio lighting (ring lights, softboxes). Avoid flash — it can cause glare and distort color.
- Neutral background: The background should be clean and distraction-free — white sheet, black fabric, neutral wall.
- Sharpness: The image must be perfectly sharp. Use a tripod if needed.
- Angles: Take several shots:
- Full view: The tattoo and its placement on the body.
- Close-up (detail): Show line quality, texture, gradients.
- Before and Healed photos: If possible, show the sketch or skin before, as well as the healed tattoo (a sign of high craftsmanship).
- Minimal editing: Only minor adjustments to brightness, contrast, and color balance are acceptable. Do not retouch skin imperfections or lines! That’s deceptive and unprofessional.
Step 3: Structure Your Portfolio
Clients and studios should easily navigate your work.
- Digital and Physical:
- Digital (online): This is your main channel (Instagram, Behance, personal website).
- Physical (printed): Useful for in-person interviews at studios. Select 10–15 of your best works, print them in high quality (matte or semi-matte paper), and place them in a stylish folder or album. This shows respect for your craft.
- Organization: Divide your works by style or theme. If you have many pieces, don’t dump them all together.
- Context: Attach brief info to each work:
- Date completed (optional but useful for tracking progress).
- Style (e.g., “Japanese Traditional”).
- Size/Time required (useful for studios).
Step 4: Add a Personal Touch (Bonus Sections)
The perfect portfolio isn’t just about finished tattoos.
- Sketches and Flash: Include a section with your original sketches (flash designs) that you’d like to tattoo. This demonstrates your creativity and helps attract your ideal clients.
- Progress (WIP – Work In Progress): For large, multi-session projects, show the process (sketch, outline, shading).
- About You: A short, professional, and friendly description:
- Your main style.
- Work experience (if applicable).
- Contact details and links to social media.
- Certificates: If you’ve completed training, courses, or have certifications (e.g., hygiene or sterilization), include copies in your physical portfolio.
Step 5: Regular Review and Updates
Your portfolio is a living organism.
- Review: At least once every 3–6 months, go through your portfolio. If a piece no longer reflects your current skill level — remove it.
- Fresh perspective: Ask more experienced artists or even non-tattoo people to review your portfolio. A fresh eye can catch things you may overlook.
- Professionalism: Make sure all links work, and photos aren’t duplicated or cropped incorrectly.
Building the perfect portfolio takes time and a critical eye. Remember — you’re not just showing what you can do, but what you want to do. Let your portfolio reflect your ideal professional future!